Chapter 4 · Mission #91
Close Surveillance
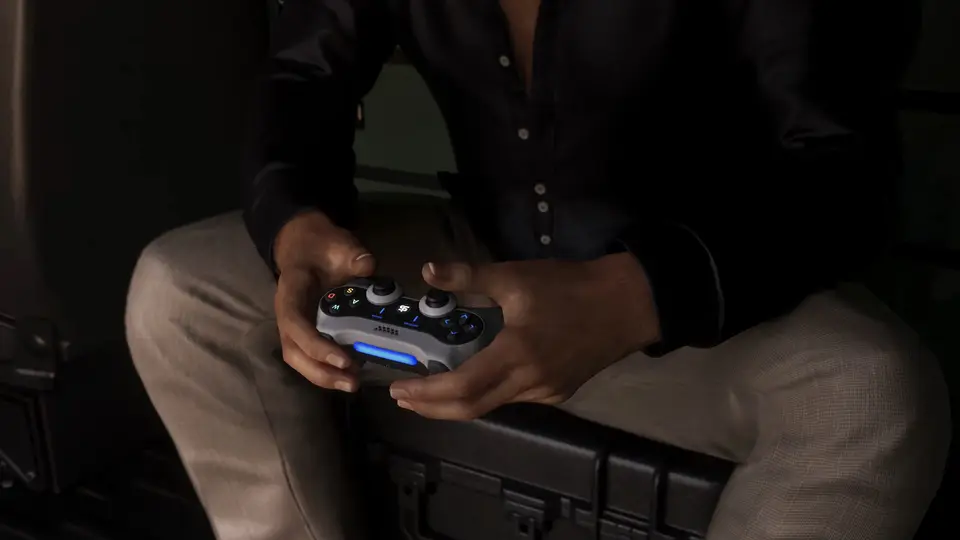
Jason uses a spy drone to keep an eye on some bodybuilders.
Unverified
Objectives
- 1Meet Karim
- 2Fly the Drone to The Calique
- 3Follow Cisco’s Car
- 4Find the Rat
- 5Plant the Bugs
- 6Watch on the Cameras
- 7The Hard Drive
Show the walkthrough (contains story spoilers)
Meet Karim
Jason meets Karim by his van on a rooftop car park. Francisco is on the move with Nate, and Karim thinks they’re about to meet their contact. Karim handles the microphone and the background systems, so Jason takes the controls of the spy drone.
Fly the Drone to The Calique
Fly the drone to The Calique, a rooftop bar nearby, and look for the bodybuilders: they’re twice the size of everyone else there, so they’re easy to spot. Karim marks areas to check as you go. Once the mic is on, stay just close enough to hear them.
Tip: Don’t fly too close or let them spot the drone: Karim warns you whenever you’re about to blow your cover.
Follow Cisco’s Car
When they leave, follow them down to the street and watch for Cisco’s convertible. Keep the drone close enough to keep listening as they drive across town and make a stop on the way, but not so close that they notice it.
Find the Rat
On foot, the two bodybuilders head into an apartment building to meet the inside man Francisco has been working on. The apartment is number 405, the third balcony up on the right, and the man turns out to be Omar, the head baggage handler at the airport.
Plant the Bugs
Fly the drone into the apartment and plant bugs while staying out of sight: try the kitchen, drop one by the bookcase and another in the bedroom. When someone walks towards you or the doorbell goes, hide the drone and wait for them to leave.
Watch on the Cameras
With the bugs in place, switch to the cameras and change angles to follow the conversation. Nate and Cisco rough Omar up and force him to work for them: he’ll find out how much money goes through the airport vault and load it onto their plane on the day. Then switch away from the cameras and fly the drone out.
The Hard Drive
Back at the van, Raul is waiting. Karim has decrypted part of the hard drive, and the footage shows a very powerful public figure. Raul decides they can auction the drive to the highest bidder and that he’ll handle it with Valentina and Abe, while Jason and Lucia keep working on the bodybuilders. Drop Karim off near the gym to complete the mission.
Walkthrough text and screenshots from GTABase. Open the original (opens in a new tab)
- Mission number
- #91
- Chapter
- Chapter 4
- Type
- Mandatory Mission
- Mission giver
- Karim
- Playable as
- Jason Duval
- Required for 100%
- Yes